This is a checklist. Follow it top to bottom and you will have a working bot in roughly five minutes.
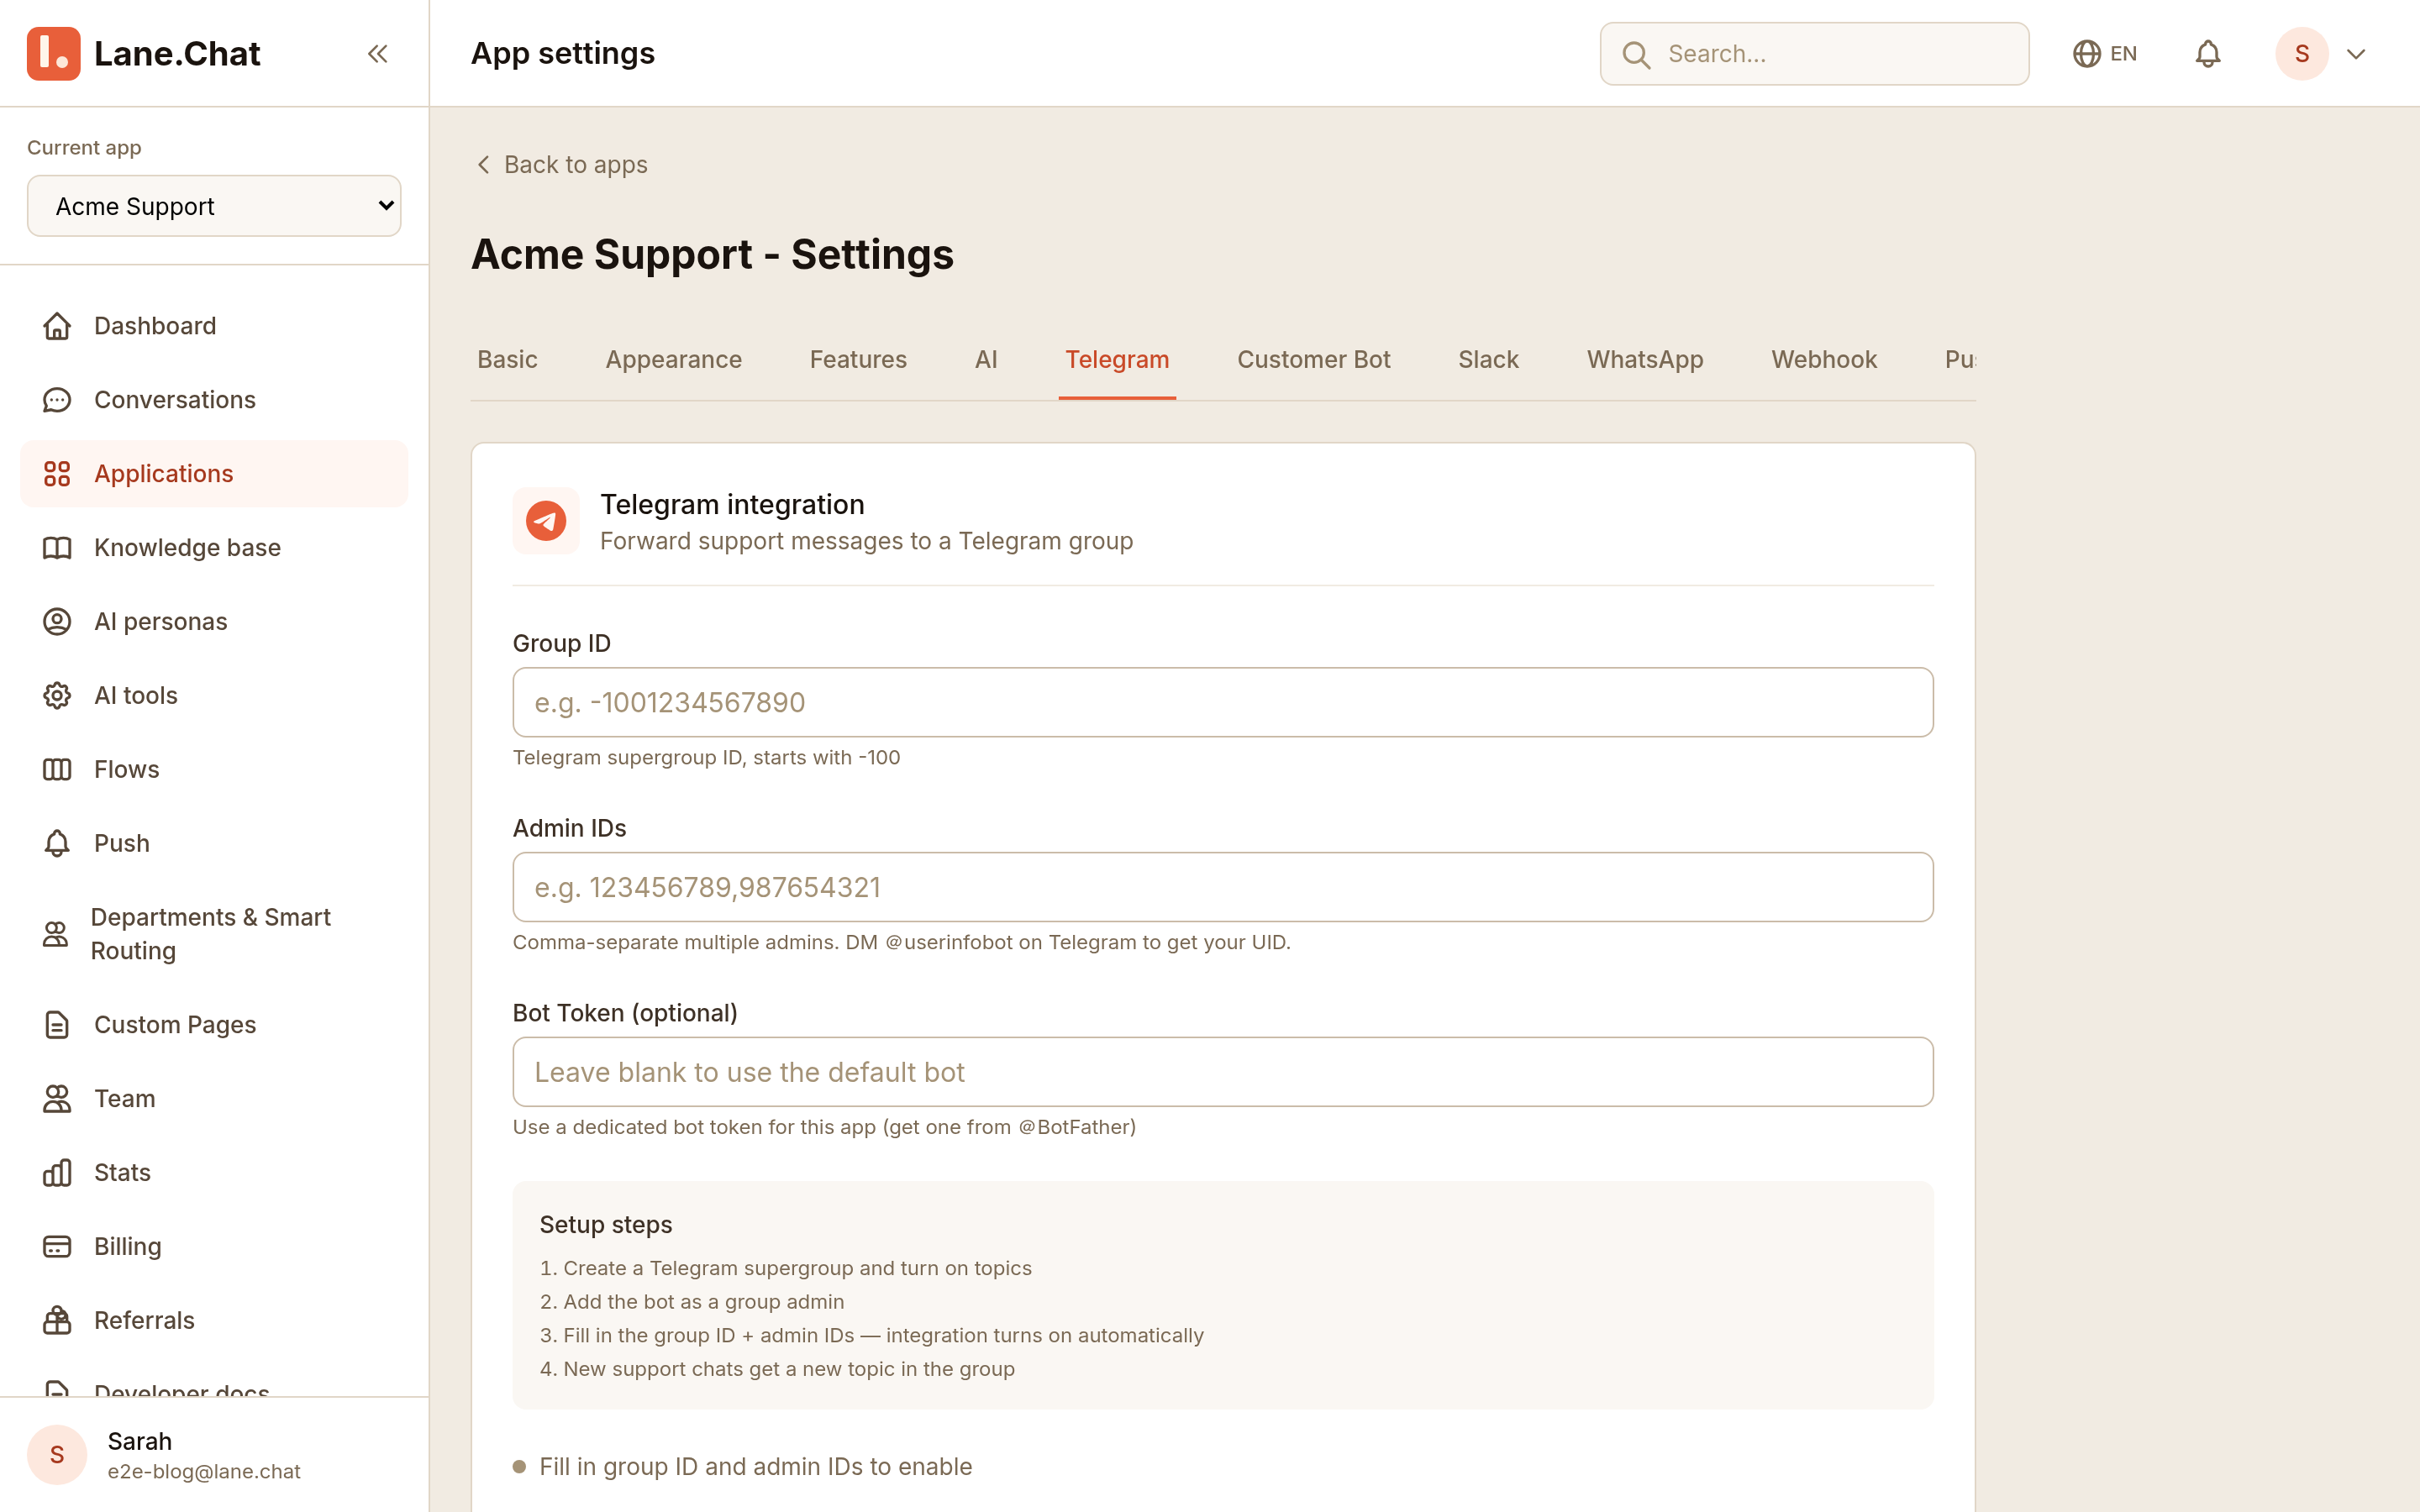
Step 1: Open the Lane.Chat dashboard and go to Telegram settings
In the left nav, go to Settings → Telegram. There's one field that matters: the bot token. Leave the tab open — the next two steps get you that token from Telegram.
Step 2: Open Telegram and message @BotFather with /newbot
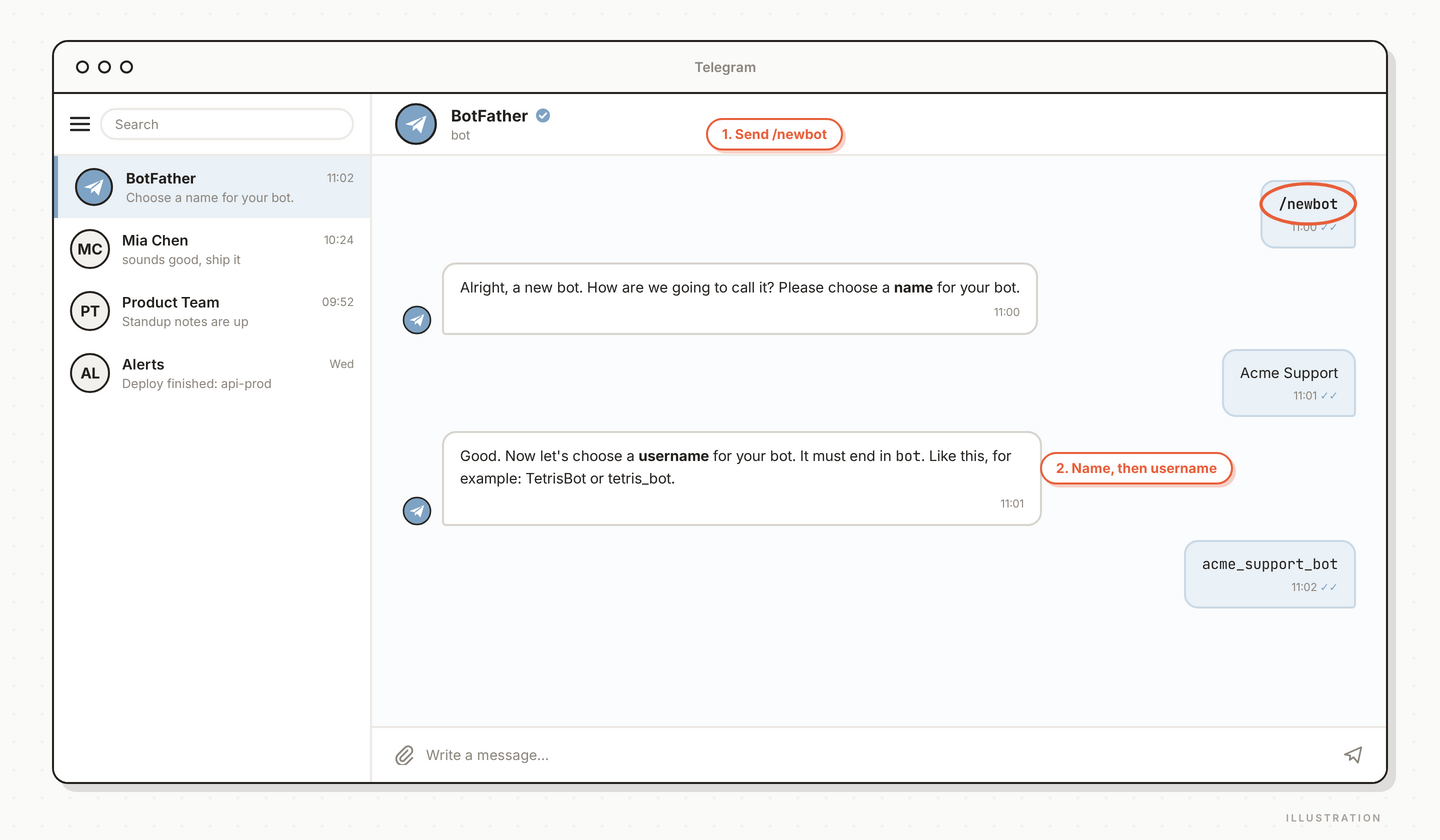
In Telegram, search for @BotFather (make sure it is the one with the blue verified checkmark). Send /newbot. BotFather asks two questions: a display name for the bot and a username. The username must end in bot and must be globally unique.
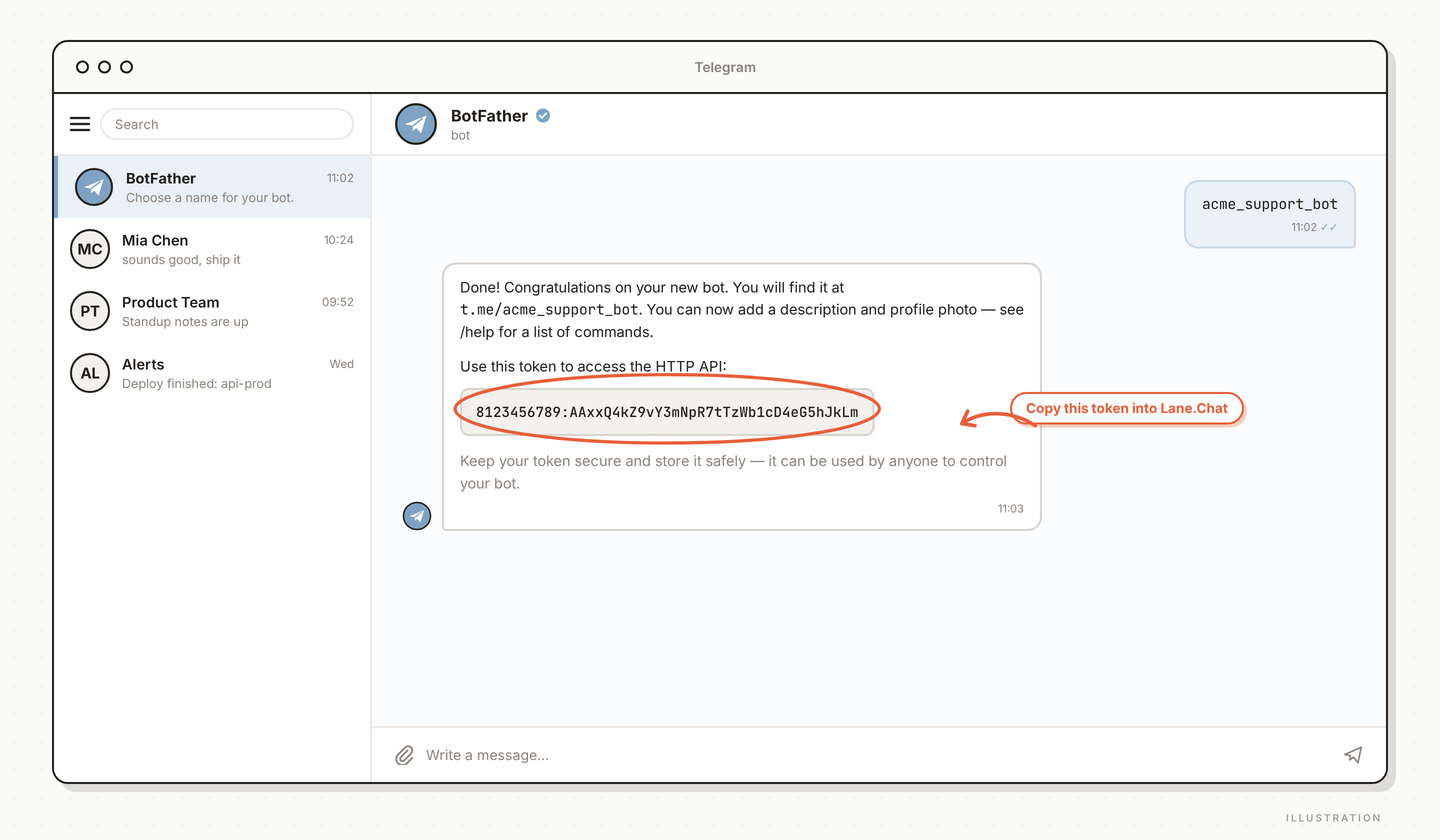
Step 3: Copy the bot token
Once naming is done, BotFather replies with a message containing a long string like 1234567890:ABC.... That is your bot token. Treat it like a password — do not screenshot it into a shared channel.
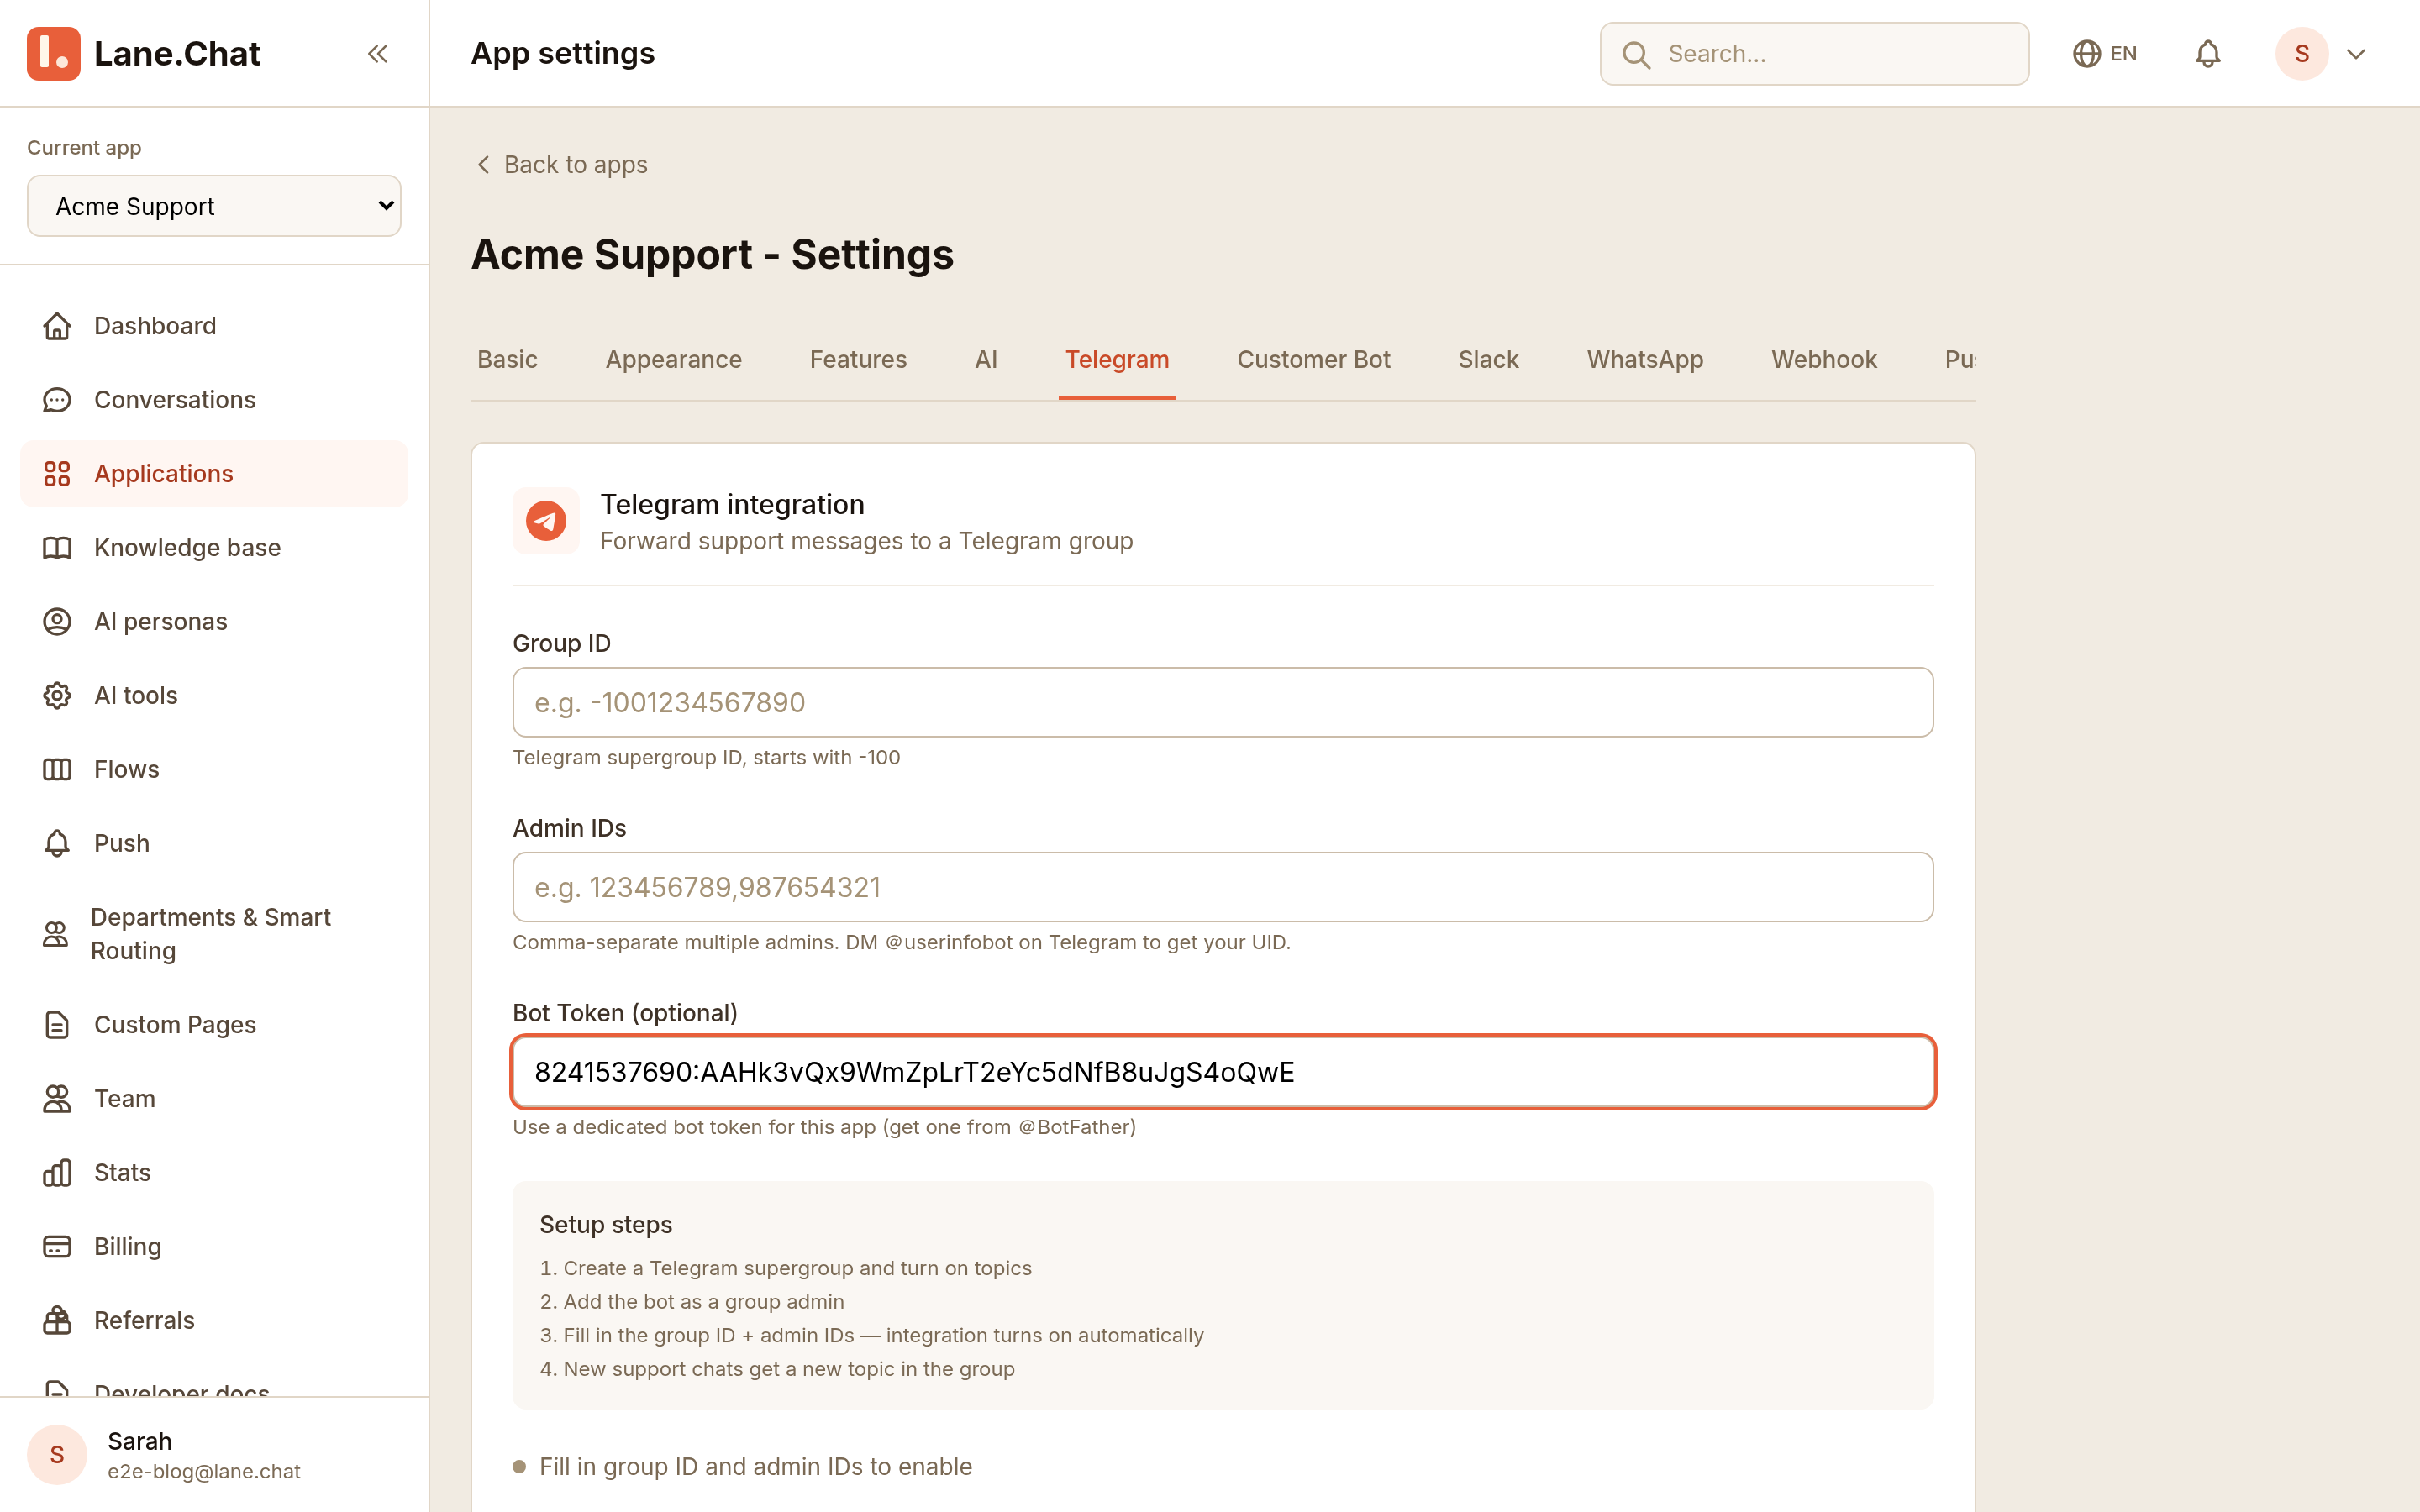
Step 4: Paste the token into the Lane.Chat dashboard
Back in Settings → Telegram, paste the token and save. Lane.Chat checks it against the Telegram API, pulls your bot's name and avatar, and — this is the part you don't do — registers the webhook in the same step.
Step 5: The webhook is already handled
If you're looking for a webhook step, there isn't one. Saving the token already called Telegram's setWebhook and bound your bot to Lane.Chat. No button to press, no manual curl, no copying URLs around — the settings page simply shows it configured.
Step 6: Send a test message
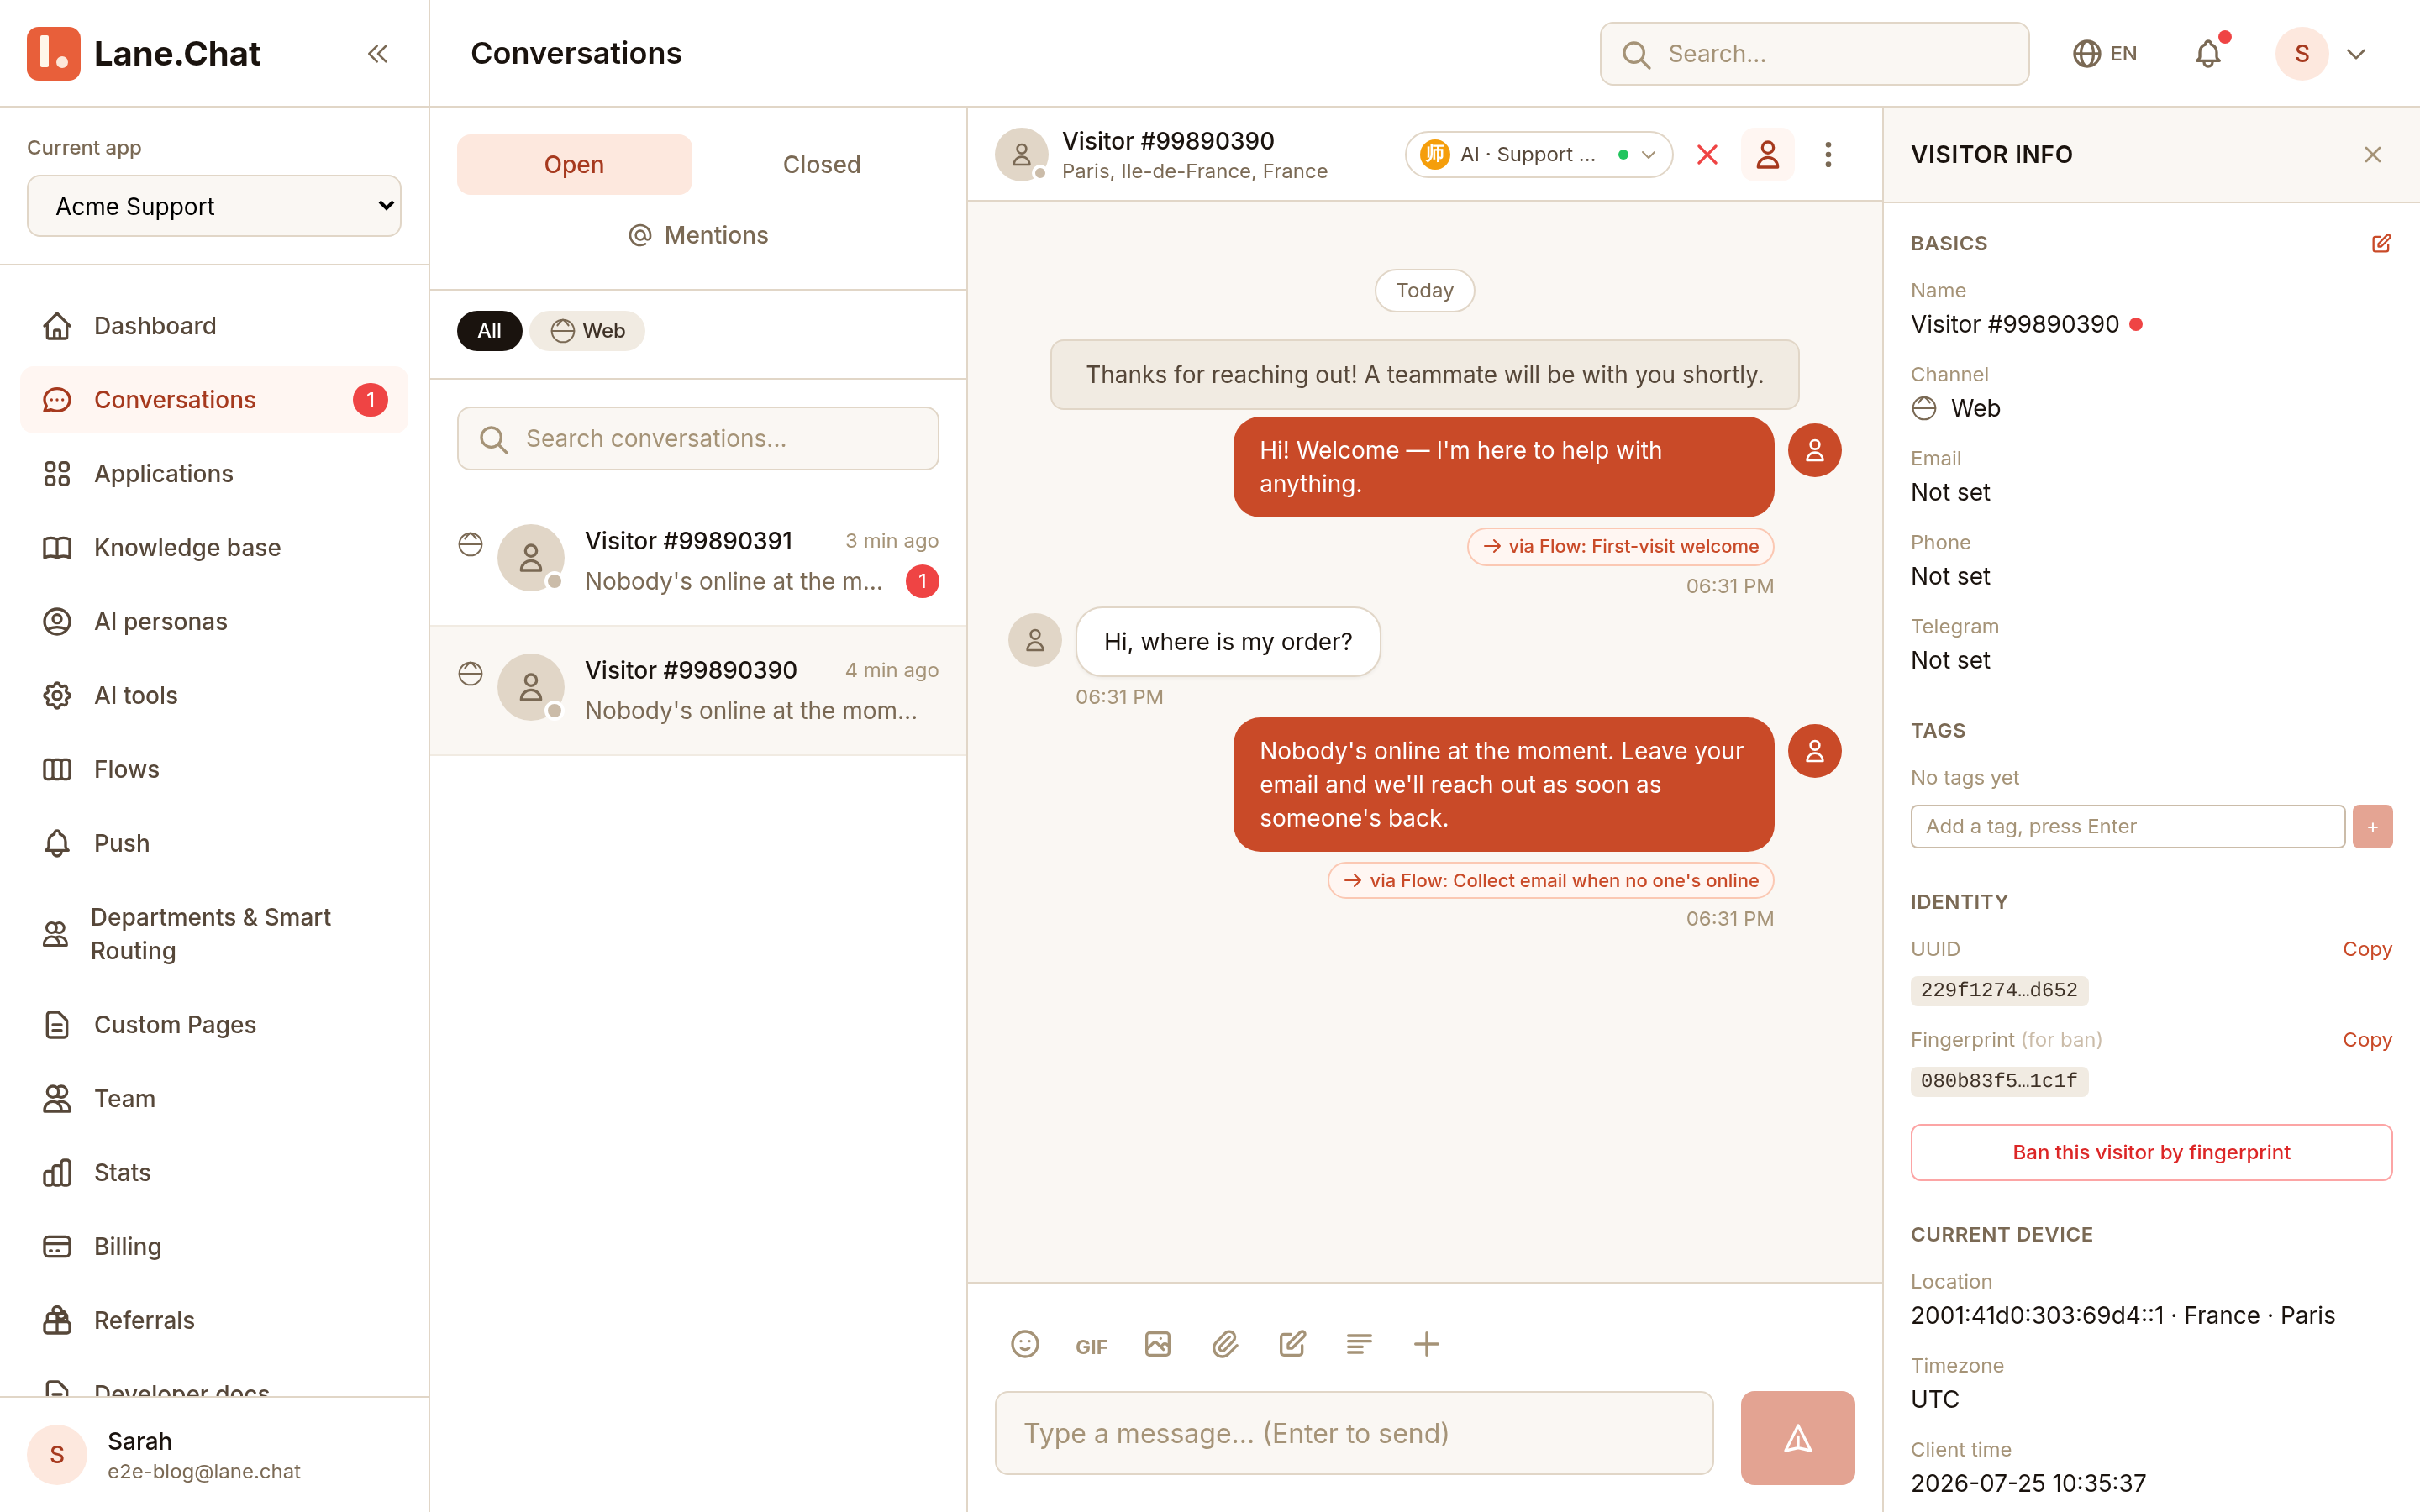
In Telegram, search for the bot you just created (@YourBotUsername), hit Start, and send any message. Back in the Lane.Chat dashboard, the new conversation should appear in the Conversations list within a few seconds. Reply from the dashboard and the message should arrive on the Telegram side instantly.
What to do next
- Set a welcome message so first-time visitors get a greeting right away
- Connect your knowledge base so the AI can auto-reply
- For a Mini App, run
/newappwith BotFather to provision one
截图清单 / Screenshots Checklist
01-add-channel.png— Telegram settings page with the bot token field02-botfather-newbot.png— BotFather /newbot conversation in Telegram03-token-received.png— BotFather message returning the bot token05-webhook-configured.png— Dashboard showing webhook set successfully06-test-message-received.png— Dashboard receiving the first test message